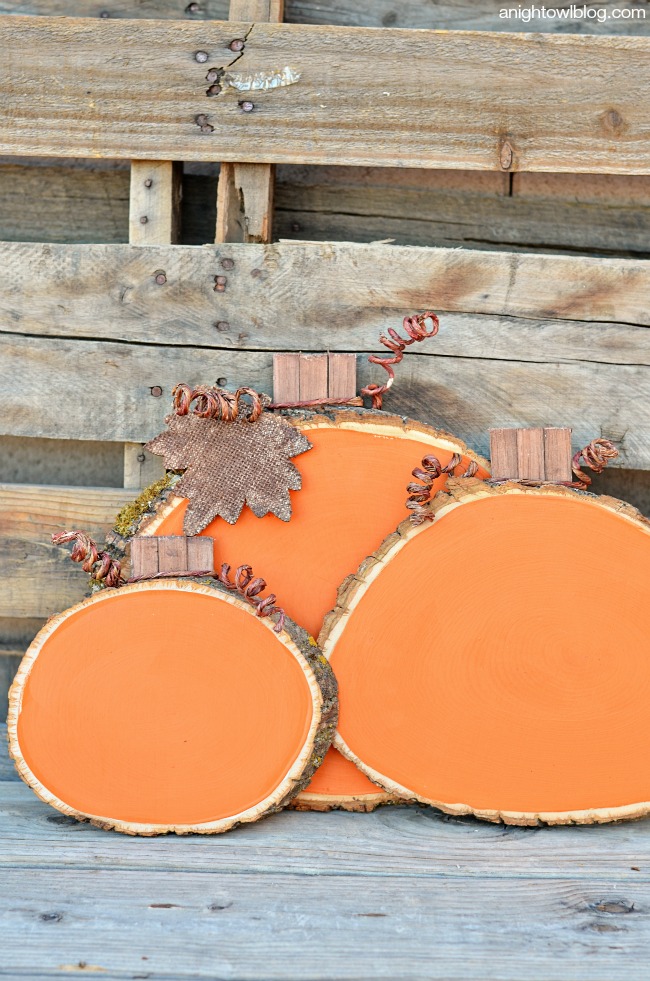
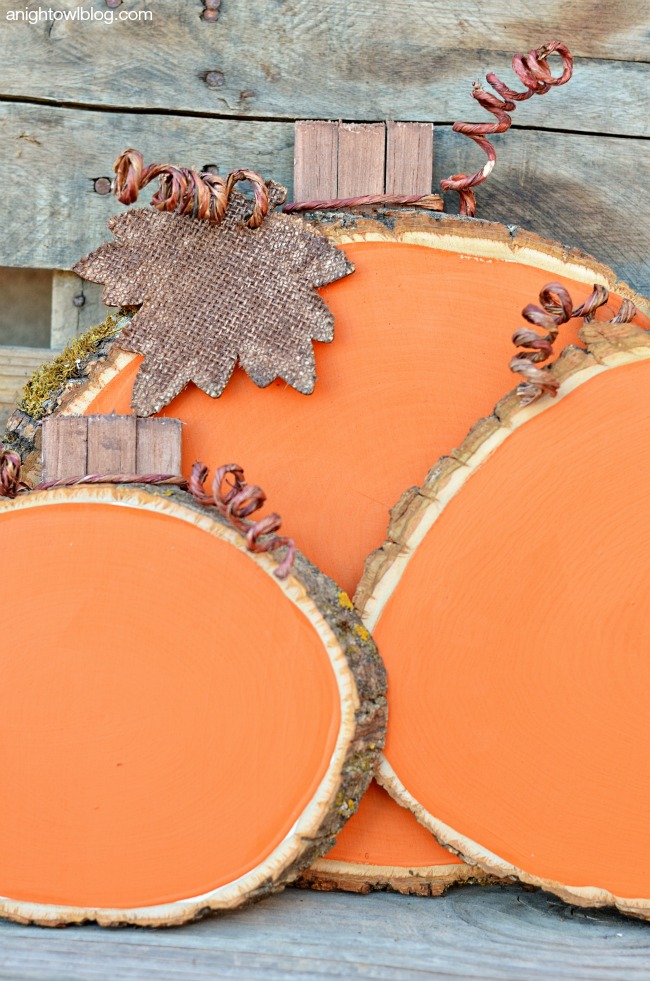
Add some color and whimsy to your Fall Decor with these easy and adorable Painted Wood Slice Pumpkins!
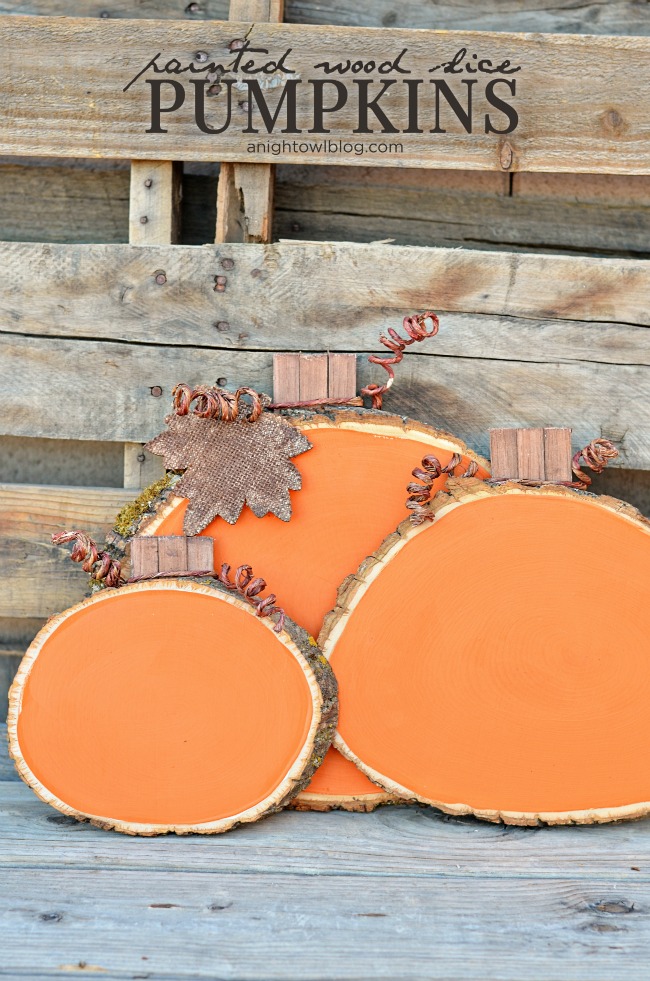
Painted Wood Slice Pumpkins
Hi friends! I’m excited to bring you yet another Michaels Makers project today – these Painted Wood Slice Pumpkins! So far we’ve shared three other fun projects, our popular Painted Bushel Baskets, these beautiful DIY Cork Flower Vases and this fun DIY Pencil Holder Teacher Gift! And this month it’s time to get READY FOR FALL and that means all things pumpkin, right? Now these may look familiar…I created this DIY Apple Chalkboard recently with my favorite wood slices, but you didn’t think that I’d just stick with apples right? I love how they look as pumpkins! Let’s break down this easy DIY…
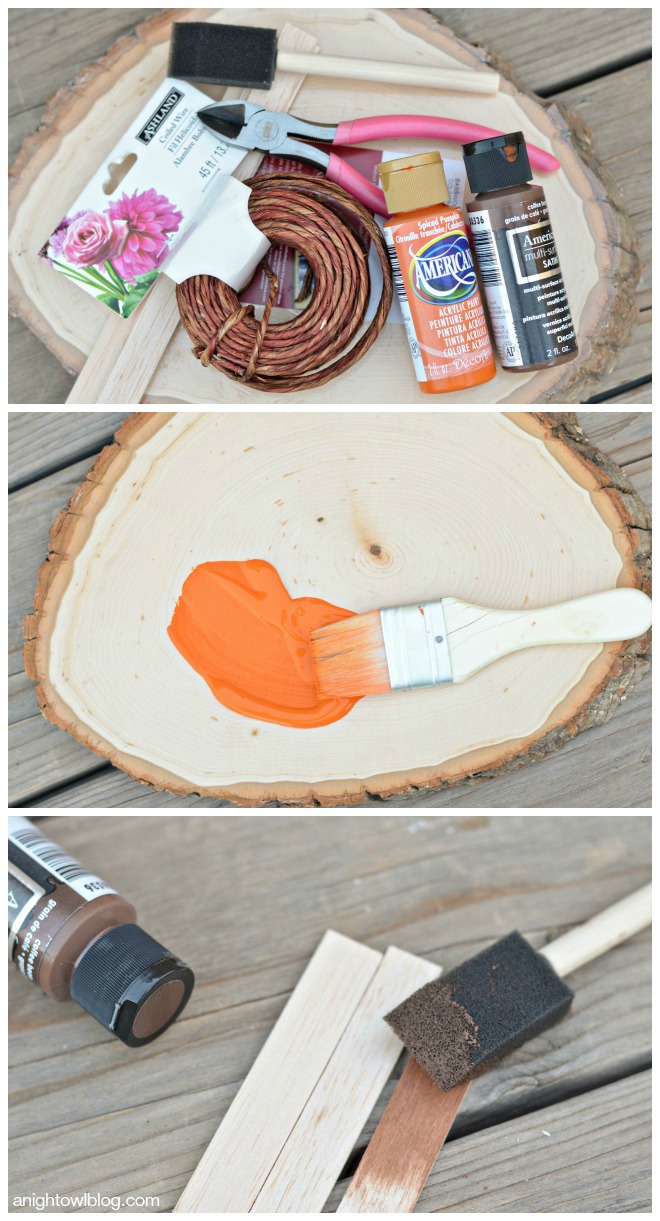
What you’ll need:
- Unfinished wood slices
- Orange acrylic paint
- Brown acrylic paint
- Coiled floral wire
- Wire cutters
- Balsa wood sticks
- Paint brush
- Glue gun/glue
- Saw
And the steps:
- Simply paint your wooden plaque with the orange acrylic paint.
- While that’s drying, paint the balsa wood sticks with brown acrylic paint.
- When the balsa sticks are dry, use a small saw to cut them down to desired length to make a pumpkin “stem.”
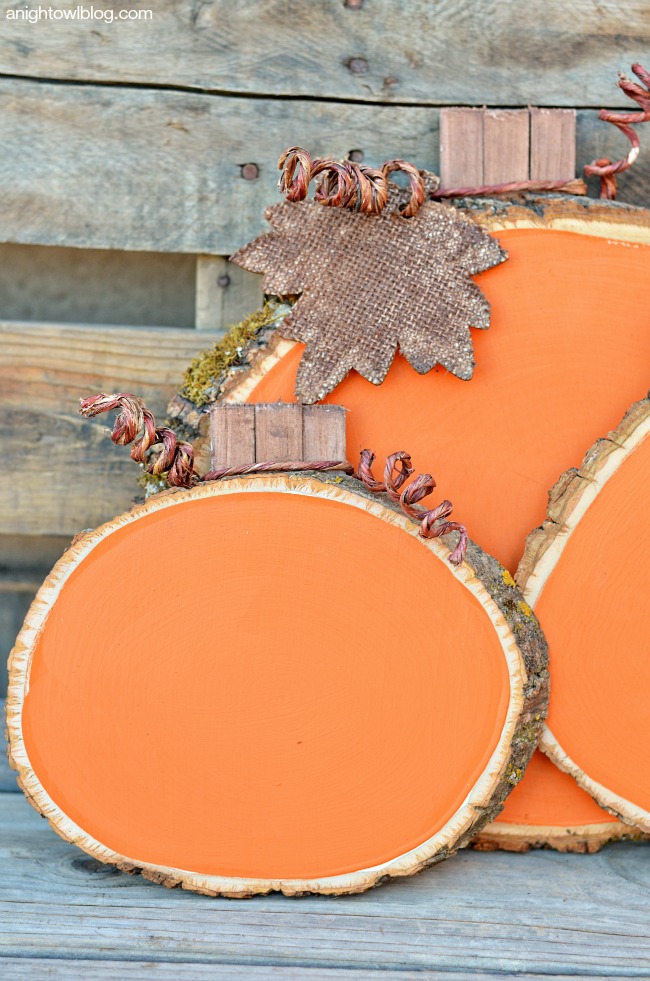
- Glue the balsa sticks to the back of the wood slice.
- Cut a length of coiled floral wire and wrap around balsa sticks.
- Curl wire with finger.

Supplies Used to make this Project:
- Unfinished Wood Slices: Available in various sizes, these slices would kick off your fall craft projects!
- Orange Paint: This pumpkin orange is perfect for this project!
- Foam Brushes: Perfect painters for your fall projects.
