Perfect for the holiday baking season without all of the fuss, whip up an easy and delicious Instant Pot Peanut Butter Chocolate Chip Cake that your family and friends are sure to love!
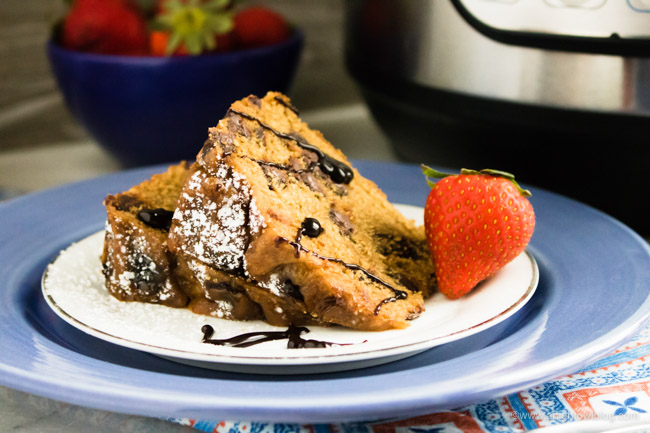
instant Pot Peanut Butter Chocolate Chip Cake
Hi friends! I feel like it’s just holiday baking season all around, isn’t it? I love breaking out the Instant Pot Pressure Cooker for these types of recipe because let’s be honest, it cuts out so much of the cooking time, leaves the stove and oven open for making other things AND I don’t know about you, but I love using the Instant Pot because it’s SO easy to clean up! Everything in one pot that you can take out and clean afterwards. It doesn’t get better than that. So let’s get to the recipe…Instant Pot Peanut Butter Chocolate Chip Cake!
ingredients for a Peanut Butter Chocolate Chip Cake
Here’s what you’ll need to whip up a delicious dessert right in your Instant Pot!
- butter
- sugar
- brown sugar
- eggs, beaten
- peanut butter
- heavy cream
- vanilla extract
- all-purpose flour
- baking powder
- baking soda
- salt
- chocolate chips
How to Make an Instant Pot Peanut Butter Chocolate Chip Cake
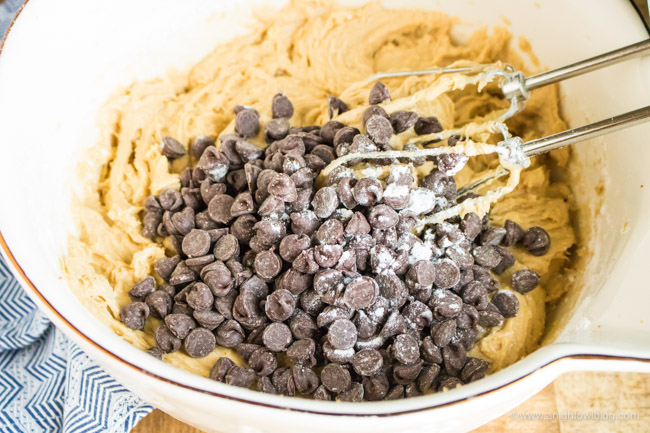
This dessert couldn’t be easier! Cream together butter and sugars. Add the eggs and beat well. Mix in peanut butter, heavy cream, and vanilla.
Combine flour, baking powder, soda and salt together and add to creamed mixture.
Stir in most of the chocolate chips, reserving a few for the top.
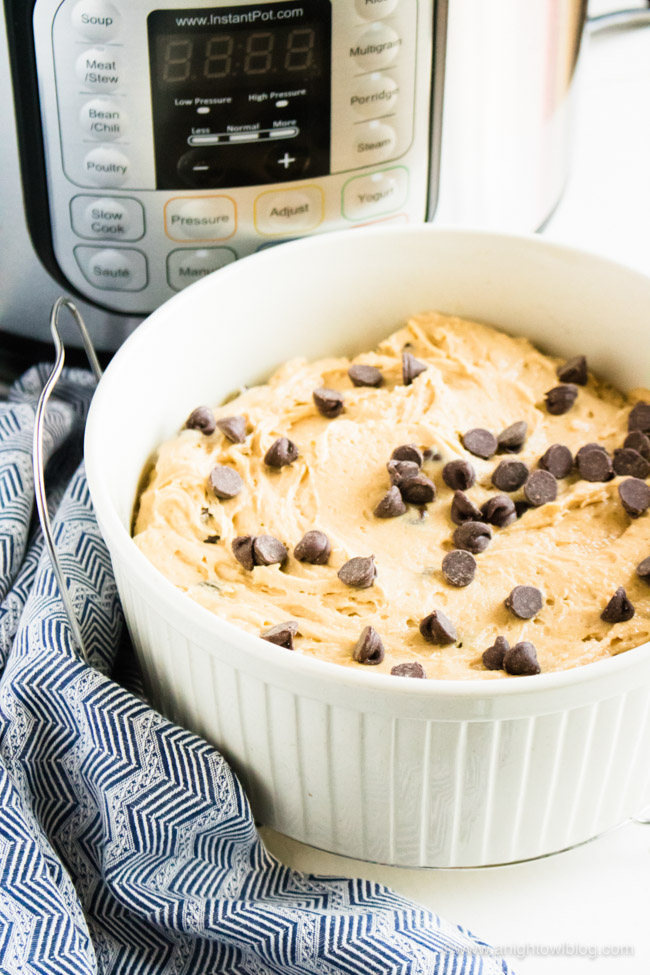
Spoon mixture into a 2 ½ to 3-quart souffle dish or mold (sprayed with non-stick cooking spray) that will fit into your Instant Pot.
Place a small trivet (or fashion a little “ring” from aluminum foil) in the Instant Pot, add 1½ cups of water, and then place the baking dish on the trivet.
Close lid and set valve to sealing. Set on a manual high pressure cooking time of 60 minutes.
Allow for a natural pressure release for 15 minutes and then let the rest of the pressure out if there is any remaining.
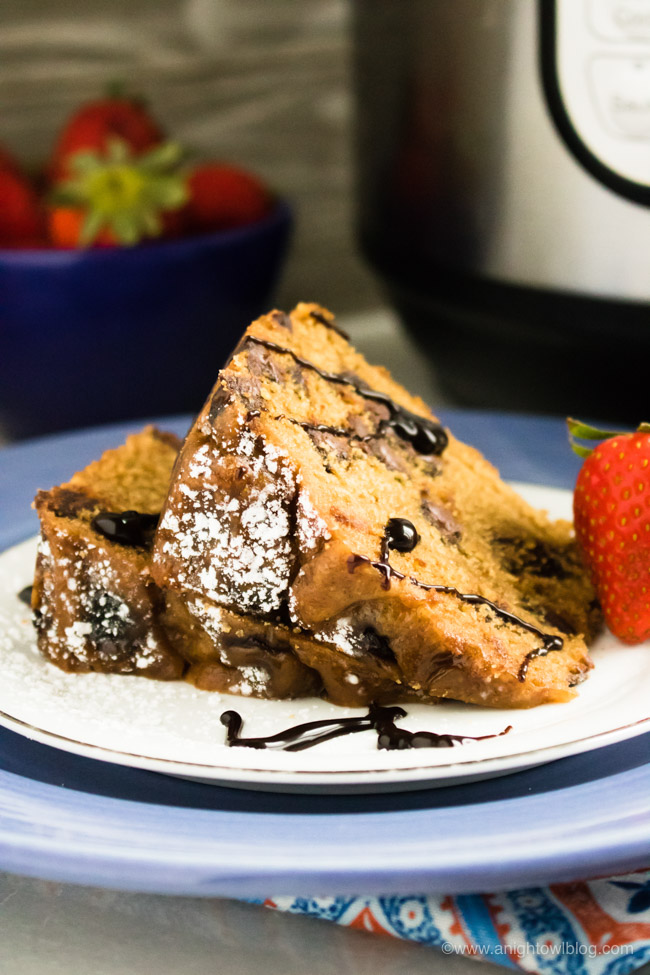
Use hot pads and the trivet handles to lift the cake dish out of the pressure cooker and set on a wire rack to cool.
Once the cake has cooled, it should easily release onto a plate for serving.
Our Favorite Instant Pot Tools & Accessories
- INSTANT POT: The one appliance I can’t live without! We cook so many weeknight meals in it and it’s great for cooking meat!
- INSTANT POT STEAMER BASKET: This is a great addition to your Instant Pot accessories! Perfect for cooking potatoes, steaming vegetables and more!
- INSTANT POT TRIVET: This should come with your Instant Pot, but if you misplaced yours grab another because it’s perfect for this recipe.
- INSTANT POT ACCESSORIES SET: This set has all the Instant Pot accessories you may ever need!
For More Easy Dessert Recipes, Check Out:
For More Instant Pot Recipes, Be Sure to Check Out:
- Instant Pot Wendy’s Copycat Chili
- Instant Pot Buffalo Chicken Sliders
- Instant Pot Sweet and Spicy Meatballs
Chocolate Chip Peanut Butter Cake
Ingredients
- ½ cup butter
- ½ cup sugar
- ½ cup brown sugar
- 3 eggs beaten
- ½ cup peanut butter
- ½ cup heavy cream
- 1 teaspoon vanilla extract
- 2 ½ cups all-purpose flour
- 1 teaspoon baking powder
- 1 teaspoon baking soda
- 1/2 teaspoon salt
- 1 cup chocolate chips
Instructions
-
Cream together butter and sugars. Add the eggs and beat well. Mix in peanut butter, heavy cream, and vanilla. Combine flour, baking powder, soda and salt together and add to creamed mixture.
-
Stir in most of the chocolate chips, reserving a few for the top.
-
Spoon mixture into a 2 ½ to 3 quart souffle dish or mold (sprayed with non-stick cooking sprathat will fit into your Instant Pot.
-
Place a small trivet (or fashion a little “ring” from aluminum foiin the Instant Pot, add 1 ½ cups of water, and then place the baking dish on the trivet.
-
Close lid and set valve to sealing. Set on a manual high pressure cooking time of 60 minutes.
-
Allow for a natural pressure release for 15 minutes and then let the rest of the pressure out if there is any remaining. Use hot pads and the trivet handles to lift the cake dish out of the pressure cooker and set on a wire rack to cool.
-
Once the cake has cooled, it should easily release onto a plate for serving
