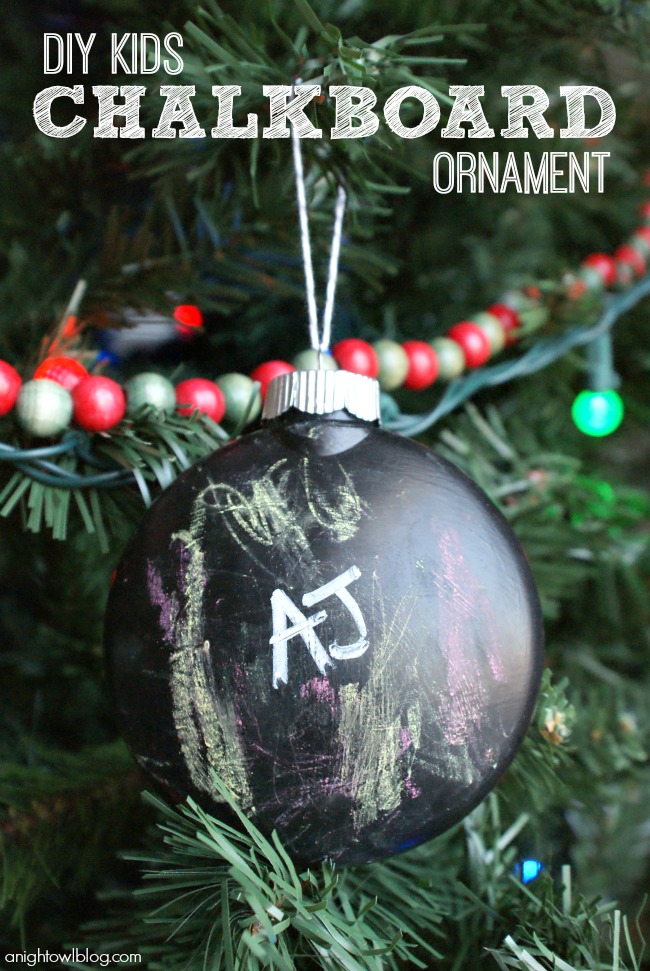
Hi friends! Today I’m sharing an easy but fun DIY Kids Chalkboard Ornament with you as part of our Trim Your Tree series this week as well as participating in the 12 Days of Christmas Crafts some other fabulous bloggers! Be sure you check out Kristi’s DIY Snow Globes at I Should Be Mopping the Floor and check Mama Marchand’s Nest tomorrow for another great Kids DIY! But first, for this project, here are the directions…
What you’ll need:
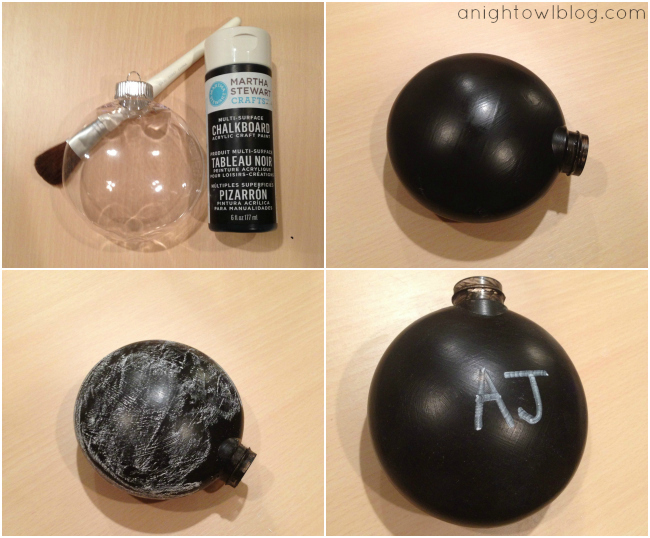
- Plastic ornament bulb (somewhat flat is easiest to color on)
- Chalkboard paint/paintbrush
- Colored chalk/chalk pen
- Baker’s Twine
And the steps:
- Simply paint the plastic bulb with chalkboard paint, waiting an hour between coats, until well covered
- Wait 24 hours for paint to cure, then prime the bulb with chalk
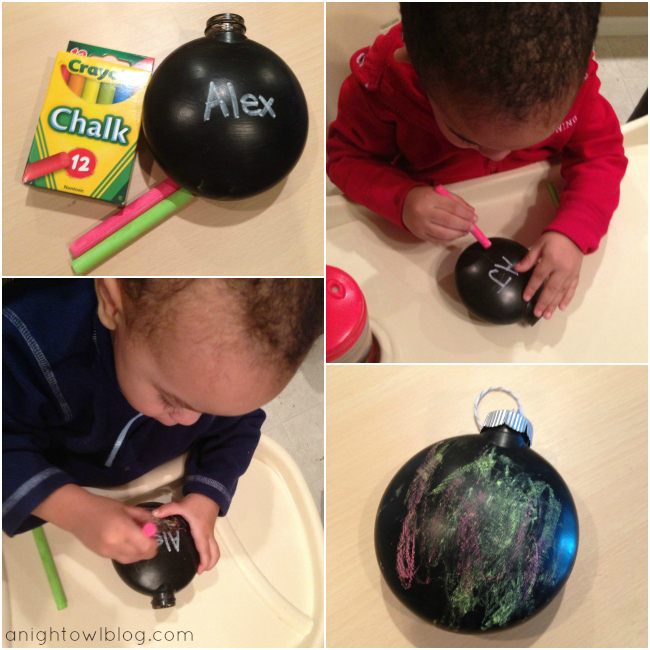
- I wrote my kids’ names with a chalk pen on the bulbs before giving to them, I had to go over them a bit after they were done coloring
- I then gave the bulbs to the kids for coloring! They had so much fun…
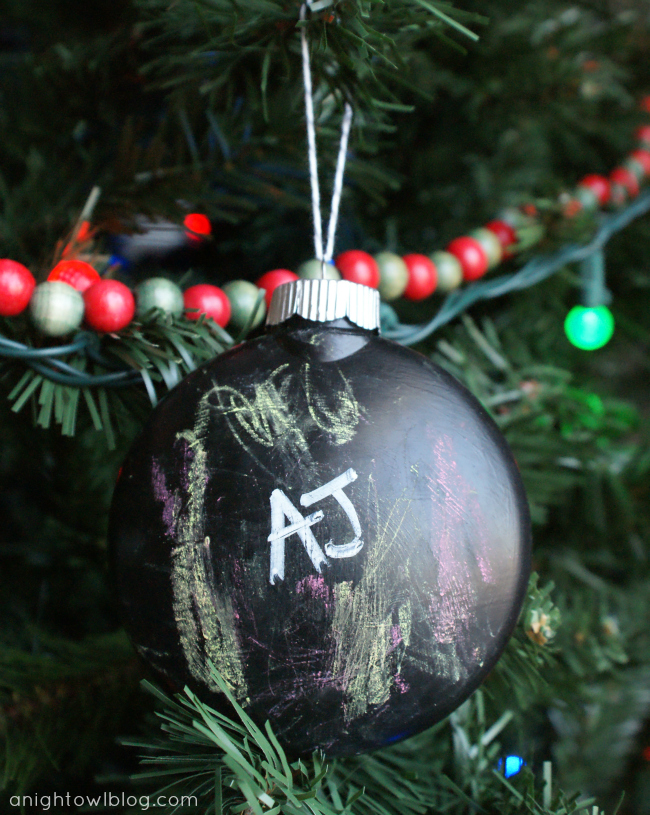
- Once they had their fill, I simply tied a loop of baker’s twine to the top and hung our little masterpieces!
And the finished product…
They are young, so I expect over the years we’ll wipe these ornaments clean and the artwork will just get better and better. What a fun tradition to start, don’t you think? Be sure to continue to follow along through the end of this week for more DIY Ornament fun!


What a fun project to do with kids! Very cute idea.
Debbie 🙂
Thanks Debbie! 🙂
so cute and i bet the kids have a blast with this!
So cute and fun for the kids!!
Love your blog and this project – so creative and fun and a great way to use up some chalkboard paint! Just wanted to let you know I featured it in my roundup of glass ornament crafts here. Feel free to check it out if you want and hope you like it! : )
-Mel the Crafty Scientist
Thanks Mel!