Hi friends! Today I’m sharing a fun and easy egg project with you – these pretty Ombre Easter Eggs! Last week I was THRILLED to be a part of theĀ Easter Egg HuntĀ with Aimee fromĀ It’s Overflowing! Aimee invited her friends and followers to be part of this fantastically fun project, and I joined in! I had the opportunity to meet Aimee at The Glitter Academy a few weeks ago and she’s just the sweetest gal around! I knew I wanted to be a part of whatever she was workin’ on!
There are a TON of EGG-cellent ideas from the series, featuring a number of beautiful bloggy gals! Go check it out and get some great ideas and inspiration! But for our project, with all the OMBRE love going on in the design world, I thought it would be fun to give it a try with Easter eggs. Thus, the creation of our Ombre Easter Eggs!
What youāll need:
- Hard Boiled Eggs
- Food Coloring
- Vinegar
- Hot Water
- Cups
- Egg Holder (I used a small ladle)
And the steps:
- Lay out 4 cups for dipping the eggs.
- Add 1 teaspoon of white vinegar to each cup.
- Add 3/4 cup of HOT water to each cup.
- Then, vary the amount of food coloring you add to each cup, increasing it from the first to the last. I chose to use 10 drops, 1/8 tsp, 1/4 tsp, and 1/2 tsp.
- Then starting with the first cup with the least amount of coloring and dip the egg all the way in.
- With the second cup, only dip the egg 3/4 of the way in, the third cup 1/2 of the way in, and the last one only 1/4 of the way end so only the bottom of the egg is in the darkest colored water.
- You may have to play with how long you dip the egg in each cup to determine how dark you want the result.
And here’s how they turned out!
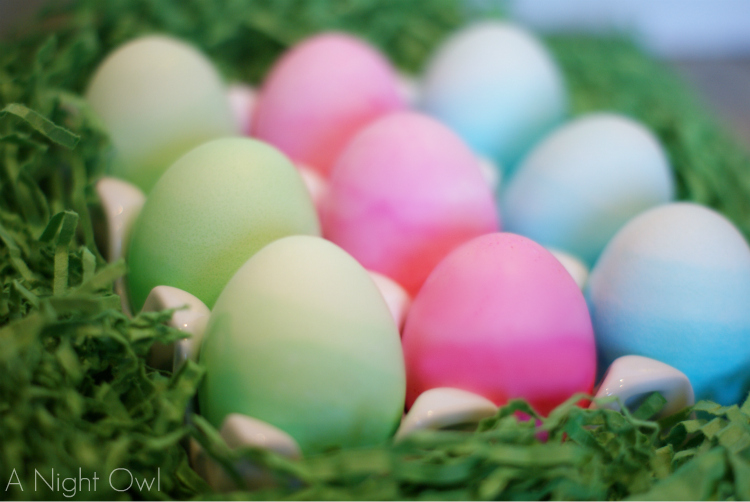
I chose to repeat this process with three different colors and I love how they turned out! Such pretty and bright Ombre Easter Eggs! I can’t wait to see what everyone else came up with! What is YOUR favorite way to dye your eggs?
lizy b says
So pretty!! I just love these!
Kendall says
Purdy eggs! š
Michelle says
These are really cool! Great job! š
Maria says
Wow these are beautiful! Love this effect on the eggs, so pretty! Nicely done!
Toni @ SugarTart_Crafts says
So lovely! My daughter isn’t quite old enough to help with these yet, but I’m definitely pinning them for next year. Thanks for sharing!
Karah @ thespacebetweenblog says
I am loving all of the ombre out there…I should have known someone would have a great Easter egg project with it. š This wouldn’t be necessarily easy for me, but if you have any super simple projects or tips you’d like to share I’m hosting a link party today with a few fellow bloggers. I’d be great to see you linked up. š
https://thespacebetweenblog.wordpress.com/2012/03/27/diy-spring-wreath-painted-with-seaglass-and-driftwood/
Karah
Nikki @ the ambitious procrastinator says
These look beautiful. I just love all this ombrƩ stuff, I hope it sticks around for a while.
Nikki @ the ambitious procrastinator
Pams Party says
Your eggs are GORGEOUS! I so want to try this technique this year. I know I asked for you to link your tutu wreath already, but I would LOVE you to link these eggs too. I am a new follower because you have some great projects.
Pam
https://pamspartyplanning.blogspot.com/2012/03/dare-to-share-linky-party.html
Six Sisters says
Cute ideas! Thanks for linking up with Strut Your Stuff Saturday. We’re hoping you will join us again next week with more great ideas! – The Sisters
Andrea says
Or… you could just use one container with strong dye and then add water in stages so it dilutes the color but each previous layer is still darker…
Kimberly says
I’ve seen that on Pinterest! I would definitely give that a try too!
victoria gates says
These are beautiful! Definitely giving this a try this year š
Thanks so much for sharing!
xo, Victoria
victoriagatespoetry.wordpress.com