
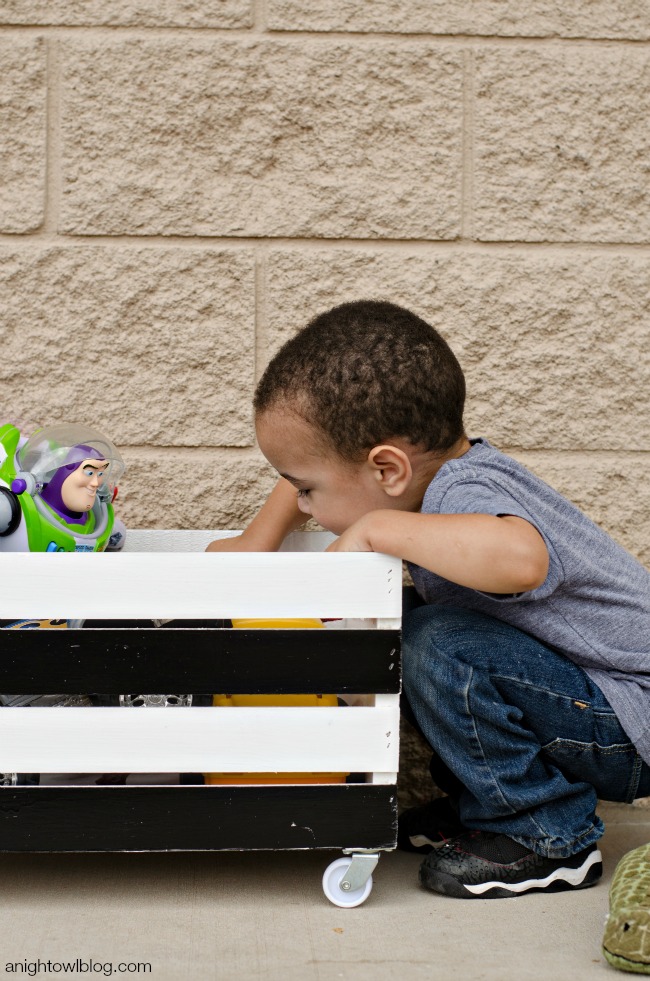
Hi friends! Do you have little ones that run amuck in your home like I do? It seems like every room we have has indications of little boys running the house. And really, I wouldn’t have it any other way. Well, except maybe a little more storage and organization! And that’s what we’re talking about today. Today we’re going to show you how we transformed a plain wooden crate into a DIY Wooden Crate Toy Box that is not only cute but functional! And we were able to find all the hardware we needed at our local True Value.
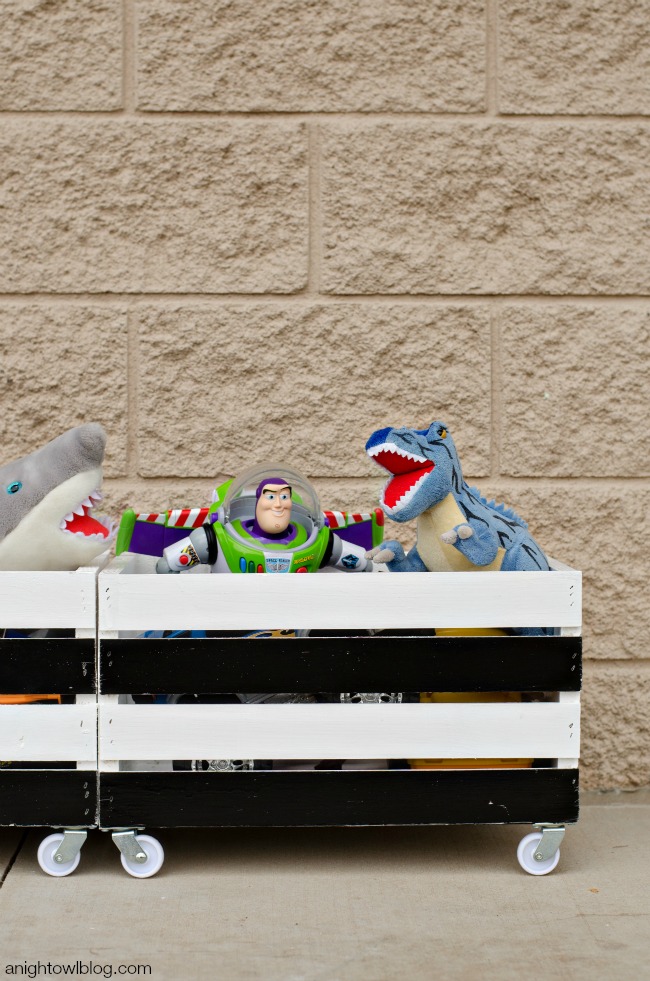
We’ve had ALL SORTS of kids toys and organization over the years. What I’ve found works best for my boys are open baskets so there’s no opening and closing of boxes and squished little fingers. But even the baskets have their shortcomings. Full of toys they really just stay there. And you know, sometimes you just want ALL the toys to come with you to play. Enter the toy boxes on casters. Genius, right? I’ve seen them before and knew that they’d just be perfect for our little guys. So let’s get down to the nitty gritty.
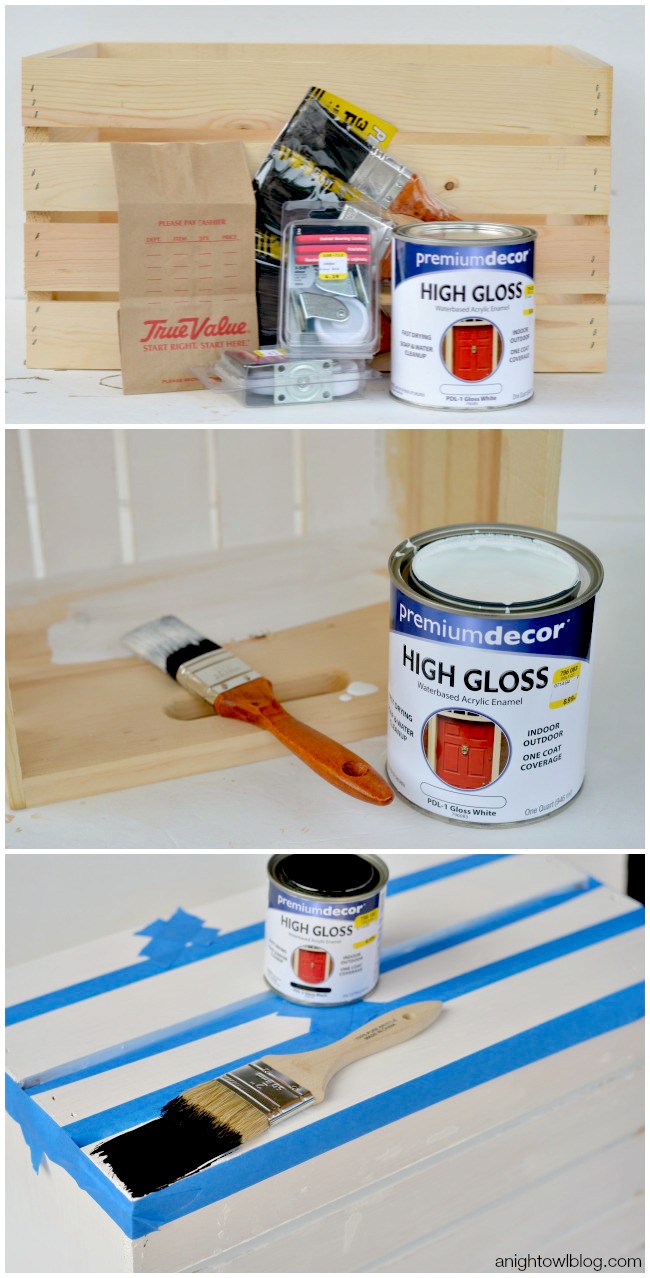
What you’ll need for ONE toy box:
- Large, plain wooden crate
- 2 – 2-Pack 1-5/8-Inch White Swivel Plate Casters
- Premium Decor High Gloss Enamel in White and Black
- Paint brush
- Power drill
- 12 – number 8 wood screws
And the steps:
- First you’re going to want to paint your wooden crates. We painted our entire crate in Premium Decor High Gloss White paint, because not only does it have great coverage, it cleans with water and soap! Perfect for kids wear and tear.
- We then added alternating black stripes on the crates for added visual interest. You can change up the color combination to fit your home or child’s space. Black and white is perfect for modern and contemporary spaces!
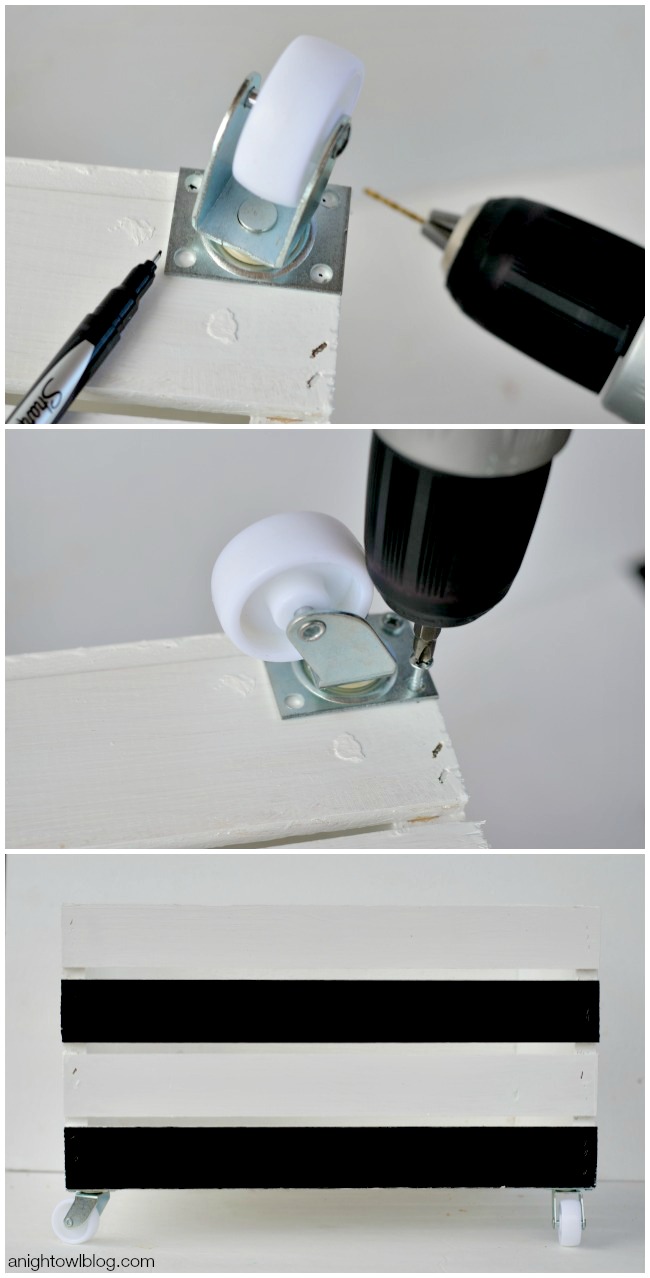
- Once your crates are completely dry (it’s good to wait 24 hours), you’re going to add the casters! Position your caster at the edge of the bottom of the crate and mark your three drill holes (that align with the edges of the crate).
- You’ll then want to drill pilot holes, making sure the drill bit goes straight down into the wooden crate. Typically these crates are softer wood and you want to make sure the screws go straight into the crate sides without splitting.
- Once your pilot holes are drilled, simply use your drill to screw the number 8 screws into the three holes for each caster.
- Once all four casters are added and secured, flip your box over and you have a perfectly mobile and trendy DIY Wooden Crate Toy Box!
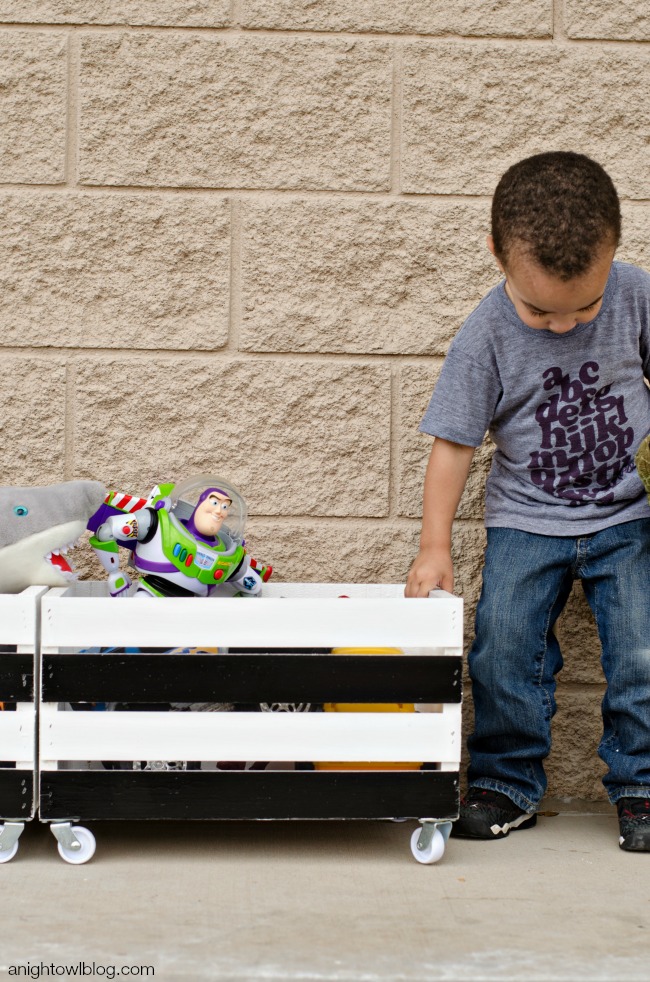
Just a warning. As soon as you complete your project you may have kids attacking you to use their new toy boxes! Mine are getting a kick out of having super easy access to all their favorite toys, because let’s be honest, they don’t ALL fit into these cute little boxes. But they’re perfect for holding toys for your kids room or their most favorite, well used toys.

Are you ready to make your own? You can get all the paint and hardware you need for this DIY Wooden Crate Toy Box project and MORE at your local True Value!

Looking for more DIY inspiration? Be sure to check out the True Value DIY Blog Squad on a regular basis and follow True Value on Facebook, Twitter and Pinterest!

I was one of the bloggers selected by True Value to work on the DIY Squad. I have been compensated for my time commitment to the program as well as writing about my experience. I have also been compensated for the materials needed for my DIY project. However, my opinions are entirely my own and I have not been paid to publish positive comments.

Love the toy box!! Great idea to add wheels. Love it!! Pinned 🙂
Thank you, Crystal! They’re super mobile now, which the boys love!
Oh my goodness, these are amazing!
xx Kelly
Sparkles and Shoes
Thank you, Kelly! My boys are loving them.
Love it!