Thank you to the editors of Martha Stewart Living for sponsoring this Easy Christmas Ornament Ideas post as part of the #12MonthsofMartha program! I received product in exchange for this project; however, all opinions are my own.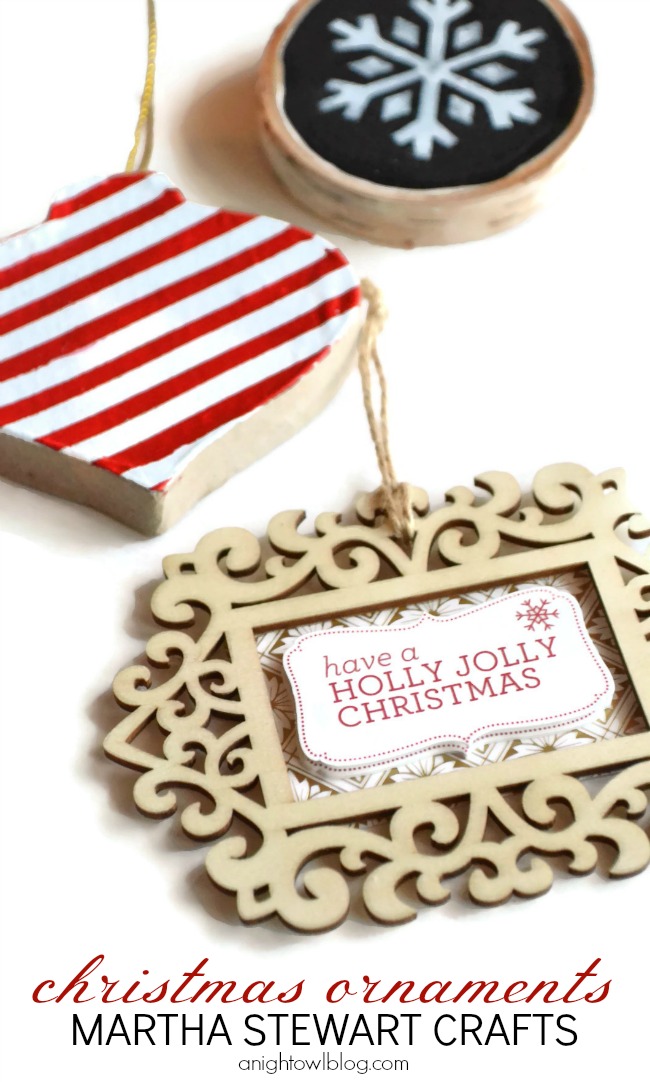
Hi friends! Time for another FUN #12MonthsofMartha project and this month it’s ALL about Christmas! Did you see the goodie box FULL of Martha Stewart Crafts Christmas products this month? Check it out on Instagram here! Christmas crafting is the best, so I was so excited to get my hands on all the crafty goodness. And since we’re having so much fun with our Trim Your Tree Handmade Ornament series, I thought I’d share MORE easy Christmas ornament ideas with you today!
![]()
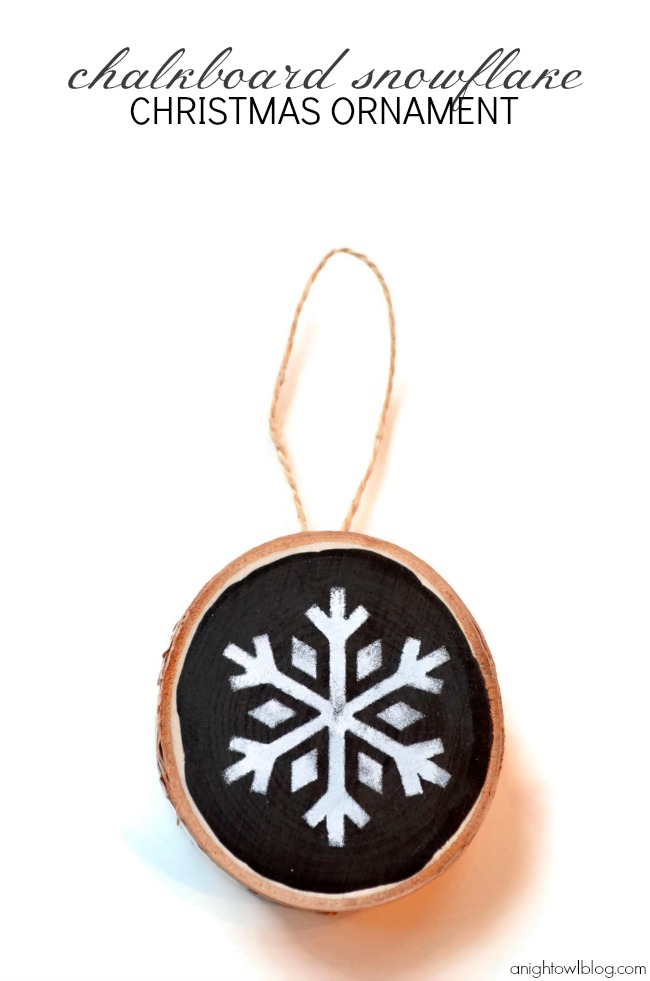
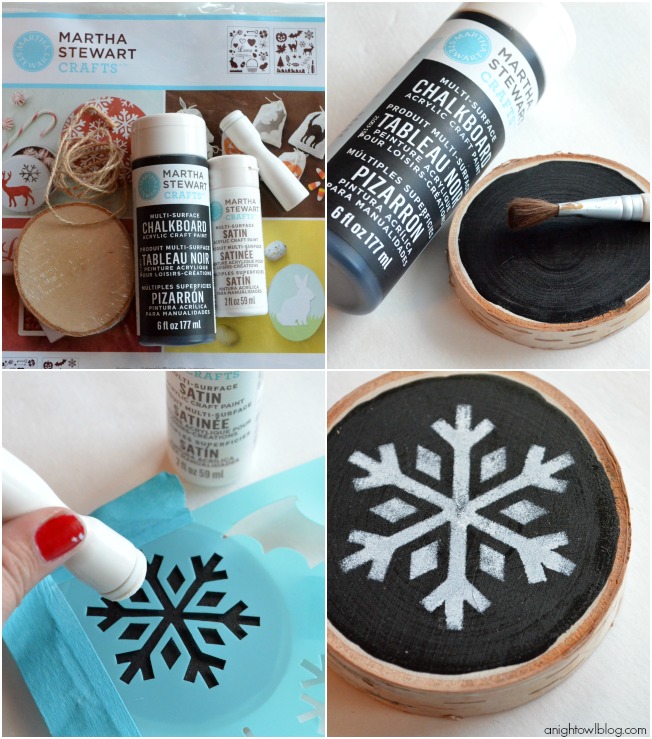
Christmas Ornament Ideas: Chalkboard Snowflake Ornament
What you’ll need:
- Wood slice
- Martha Stewart Crafts Chalkboard Paint
- Martha Stewart Crafts White Satin Paint
- Martha Stewart Crafts Holiday Stencils
- Martha Stewart Crafts Stencil Tape
- Martha Stewart Crafts Dauber
- Twine
And the steps:
- Paint the top of the wood slice with chalkboard paint and let dry.
- Let the paint dry and cure for 24 hours.
- Secure snowflake stencil on top of wood slice with stencil tape.
- Using dauber, apply a light layer of white satin paint to stencil, for a chalkboard effect.
- Attach twine to the back of the wood slice for hanging.
![]()

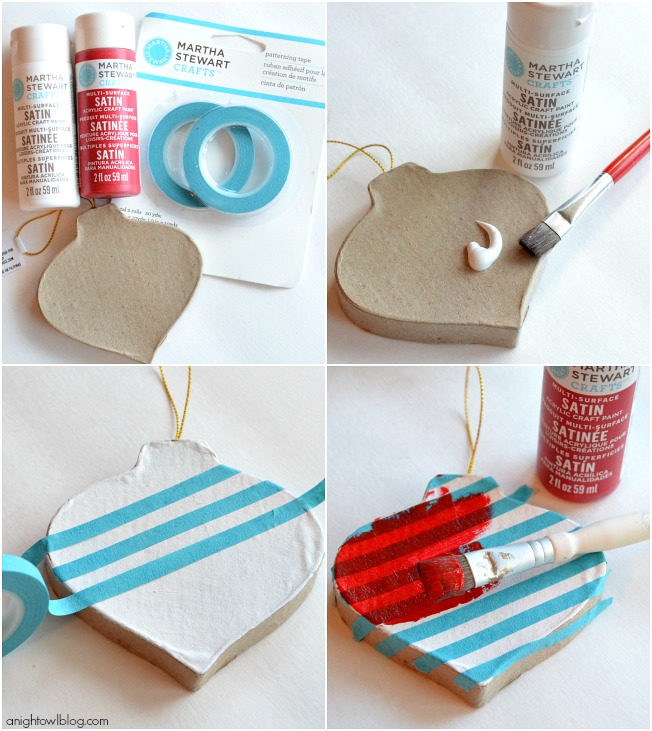
Christmas Ornament Ideas: Candy Striped Ornament
What you’ll need:
- Paper mache ornament
- Martha Stewart Crafts Red Satin Paint
- Martha Stewart Crafts White Satin Paint
- Martha Stewart Crafts Patterning Tape
- Paint brush
And the steps:
- Paint the paper mache ornament with the white satin paint and let dry.
- Arrange patterning tape on top of the ornament, making thin stripes.
- Paint the ornament with the red satin paint and remove patterning tape while wet.
- Allow to dry and you’re done!
![]()
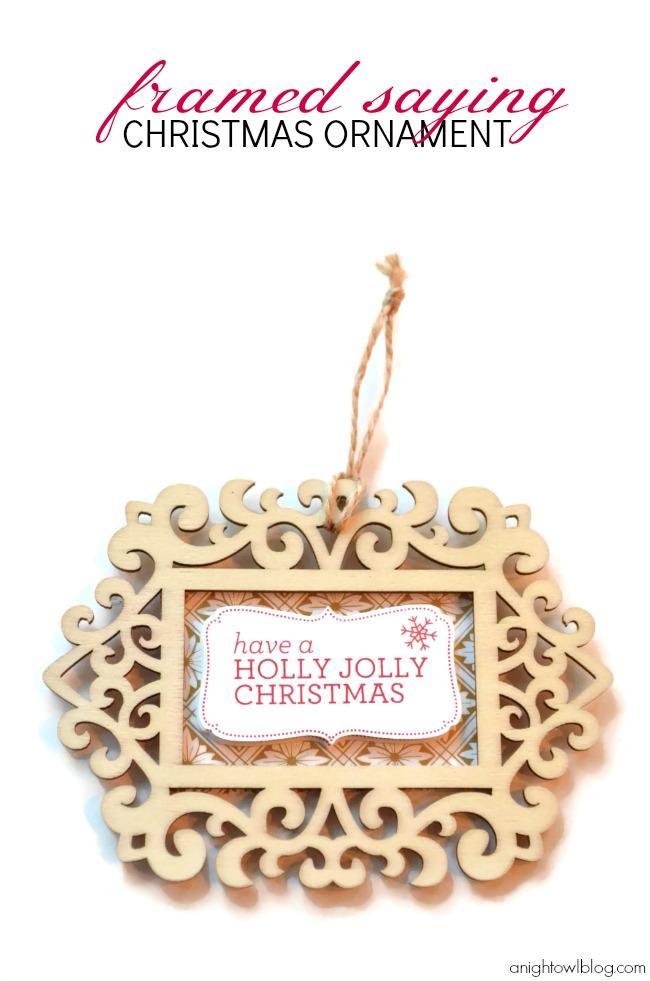
Christmas Ornament Ideas: Candy Striped Ornament
What you’ll need:
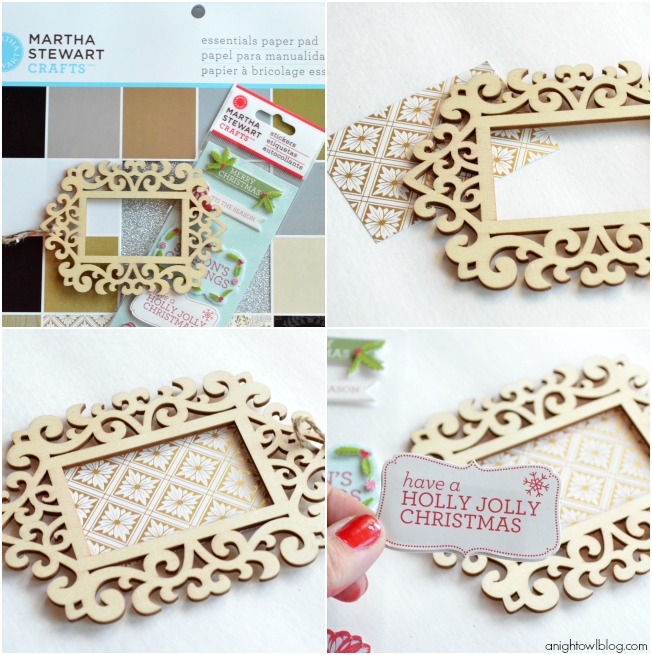
- Wooden frame ornament
- Martha Stewart Crafts Neutrals Paper Pad
- Martha Stewart Crafts Peppermint Winter Stickers
- Scissors
- Glue gun/glue
And the steps:
- Cut a piece of paper to back the wooden frame ornament.
- Attach paper to the frame with hot glue.
- Add sticker to the paper, inside the frame and you’re done!
And there you have it – three very fun and easy Christmas ornament ideas with Martha Stewart Crafts! Which one is your favorite? I don’t know if I can pick!
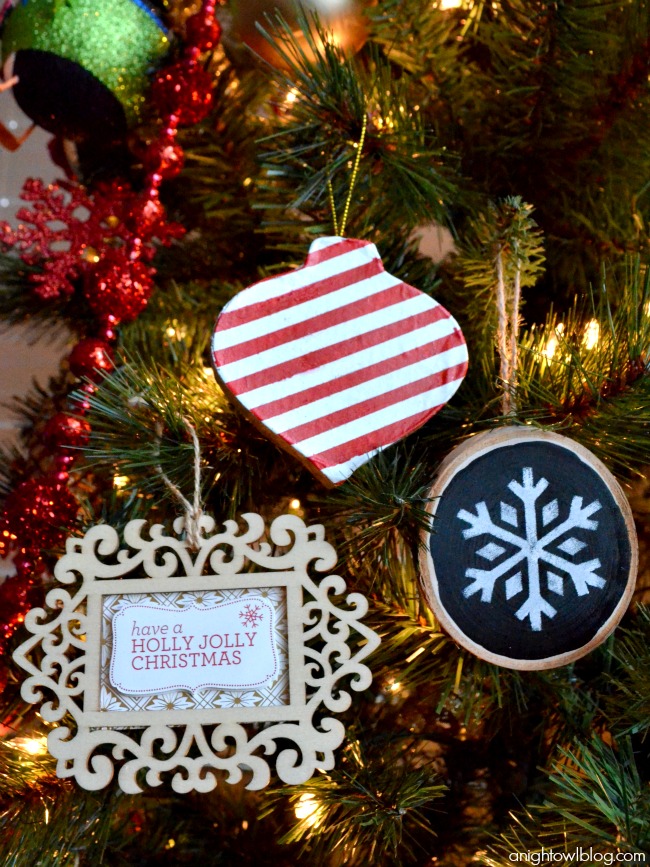
Now they’re all hung and nestled in on our Christmas tree for all to enjoy! If you enjoy these handmade ornaments, be sure to check out ALL the Handmade Ornaments in our Trim Your Tree series!

linked up here, create & inspire, link party palooza, the 36th avenue, frugal girls, everything etsy

Those all look super fun and simple! Love me some Martha Stewart crafts. I just got her glass etching kit to attempt some Christmas presents.
Love them all especially the striped ornament. Super cute!! I love Martha Stewart’s line.
Lovely post….thankyou! I’ve posted on how to make lovely Flower Headbands for christmas on my blog!!
such cute decorative stuff 🙂